- Shipping Company Estimated Delivery Time Shipping Cost

Highlights
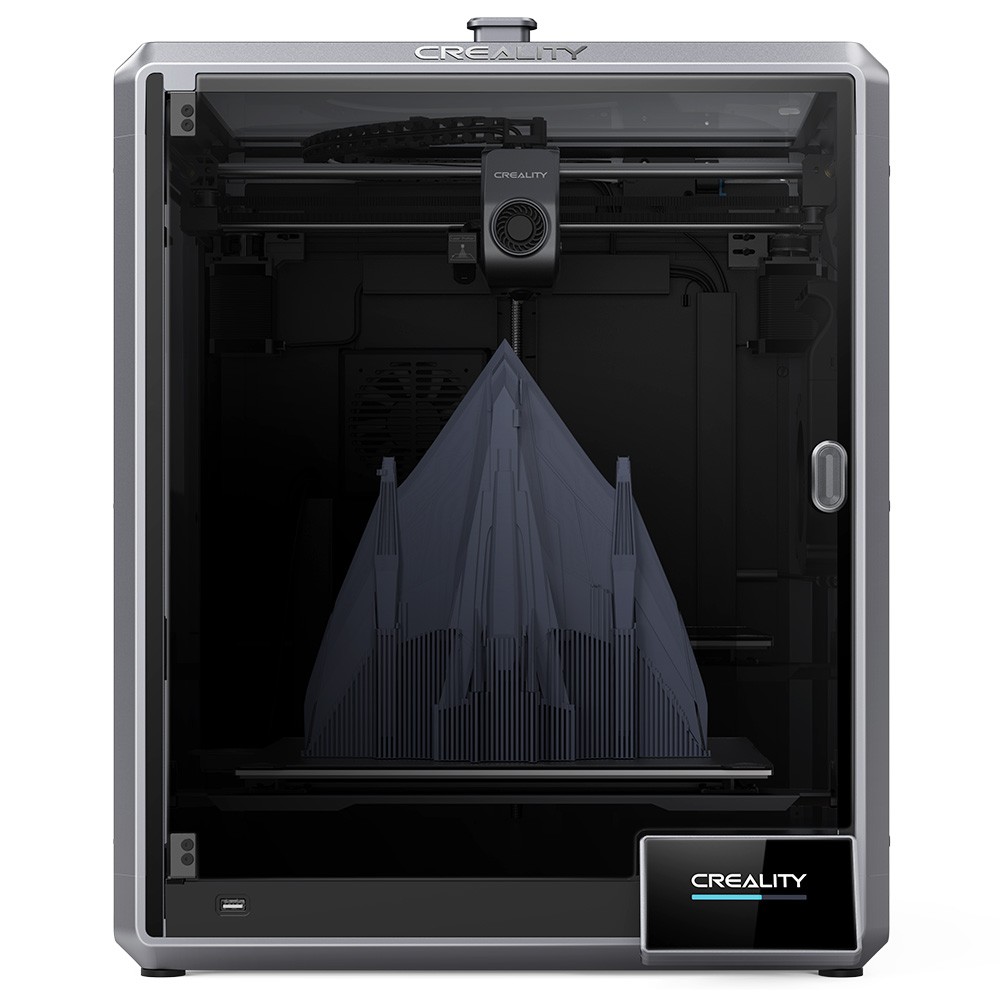
Creality K1 Max 3D Printer Main Features
Creality K1 Max features a blazing print speed of 600mm/s. With a large-scale build volume of 300 x 300 x 300mm and a dual-gear direct extruder capable of heating up to 300 Degrees Celsius, Creality K1 Max will satisfy most of your printing requirements.
What are the upgrades over the old version? - The Nozzle was replaced by the Unicorn Quick Swap Nozzle.
- Printing at up to 600 mm/s
- Unicorn Quick Swap Nozzle
- 300*300 *300mm Build volume
- Fully automatic bed leveling
- AI-supported
- Built-in air purifier
- 4.3-inch touchscreen
- Smart Features: AI Camera, AI LiDAR, Power Loss Recovery, Filament Runout Sensor, Input Shaping, Lightning Kit, Sleep Mode
- Compatible with various slicer software such as Creality Print, Cura, Simplify3D, PrusaSlicer
Super Power of Speed
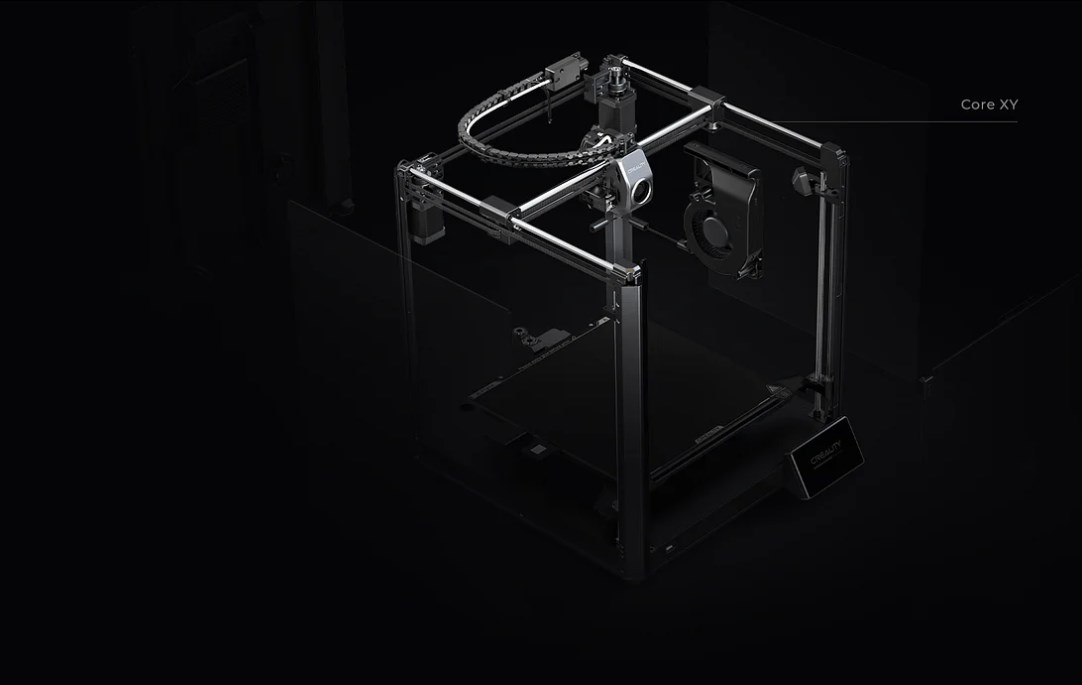
K1 Max can reach 600mm/s in only 0.03s based on 20000mm/s² acceleration. It can be as productive as several 3D printers together. Also, it combines the nimble Core XY with a 190g lightweight printhead for less motion inertia.
Max 32mm³/s Flow, High-Temperature Working
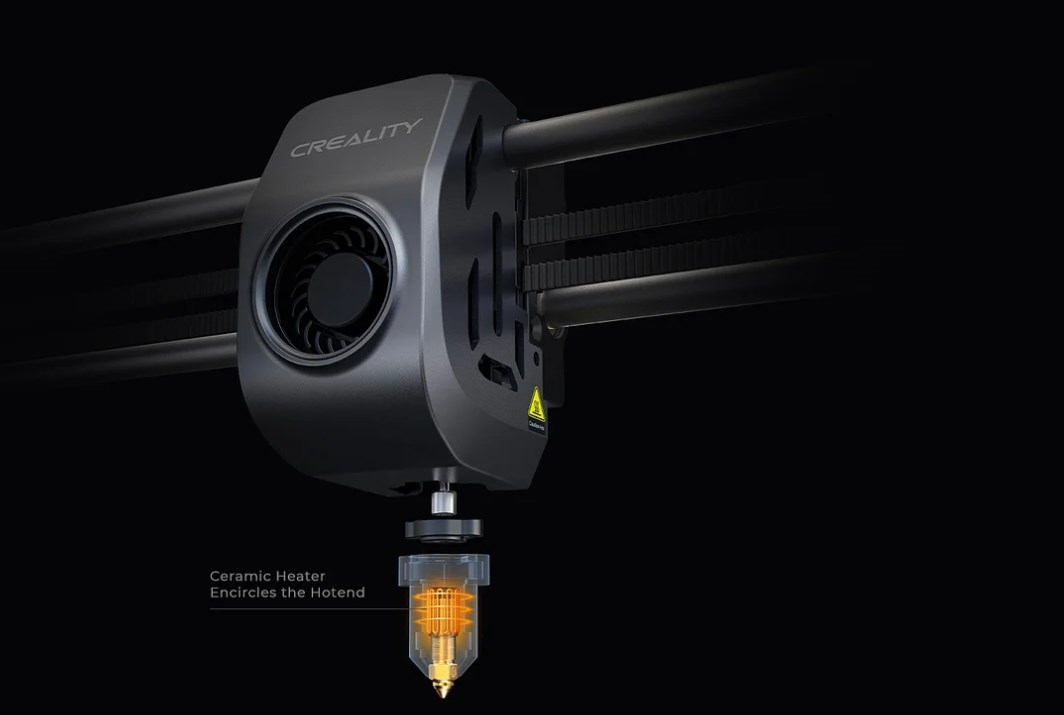
Adopts new ceramic heater, encircling the entire hot end. It heats to 200 Celsius in 40 seconds and melts the filament instantly. The dual-gear direct extruder can deliver strong extrusion force. Hotend with a titanium alloy heat break and a hardened steel nozzle, working with flying colors in up to 300 Celsius.
300x300x300mm Large Build Volume
K1 Max boasts a 300x300x300mm large build volume, great for rapid prototyping or design verification. It also offers a high build volume to printer size ratio of 25.5%, making it the most size-efficient FDM 3D printer in its class.
Smarter System
K1 Max 3D printer adopts the smart Creality OS. It features a straightforward UI, and syncs data and commands with PC, phone, Cloud, and add-on modules. An AI camera to watch over spaghetti failure, foreign objects, debris, etc. It will alert you when an error occurs. The 1 μm resolution LiDAR will scan the first layer on its own. It will pause printing and tell you immediately if something goes wrong.
Auto Leveling
First, strain sensors generate an accurate leveling mesh for auto compensation. Second, AI LiDAR scans the bed tilt at million points for more precise leveling. Both ways are hands-free and do not require any attention.
Creality Print 4.3 Slicer
The latest self-developed slicer Creality Print 4.3 includes rich presets, and streamlines the slicing process into 3 simple stages. Besides, it bolsters high-speed printing with variable line width, arc path, and so on.
WiFi Connection
Once K1 Max is connected via WiFi or RJ45 Ethernet port to the LAN or Internet, you can monitor and control the printing from a PC or phone with Creality Print software or Creality Cloud. Even better, when many K1 Max printers are online, they can be easily clustered or grouped for volume production.
Better Feeding with Motion Advance
The motion advance function will deliver the optimal feeding flow. It reduces blobs and oozes effectively.
Solve Ringing and Z-banding
The upgraded Z-axis with more accurate positioning reduces Z-banding effectively. The texture has never been so subtle. A G-sensor in the printhead measures the resonance frequencies of high-speed printing, and auto-tune the printer to mitigate it. No more ghosting or ringing on the print.
Dual Cooling Fans
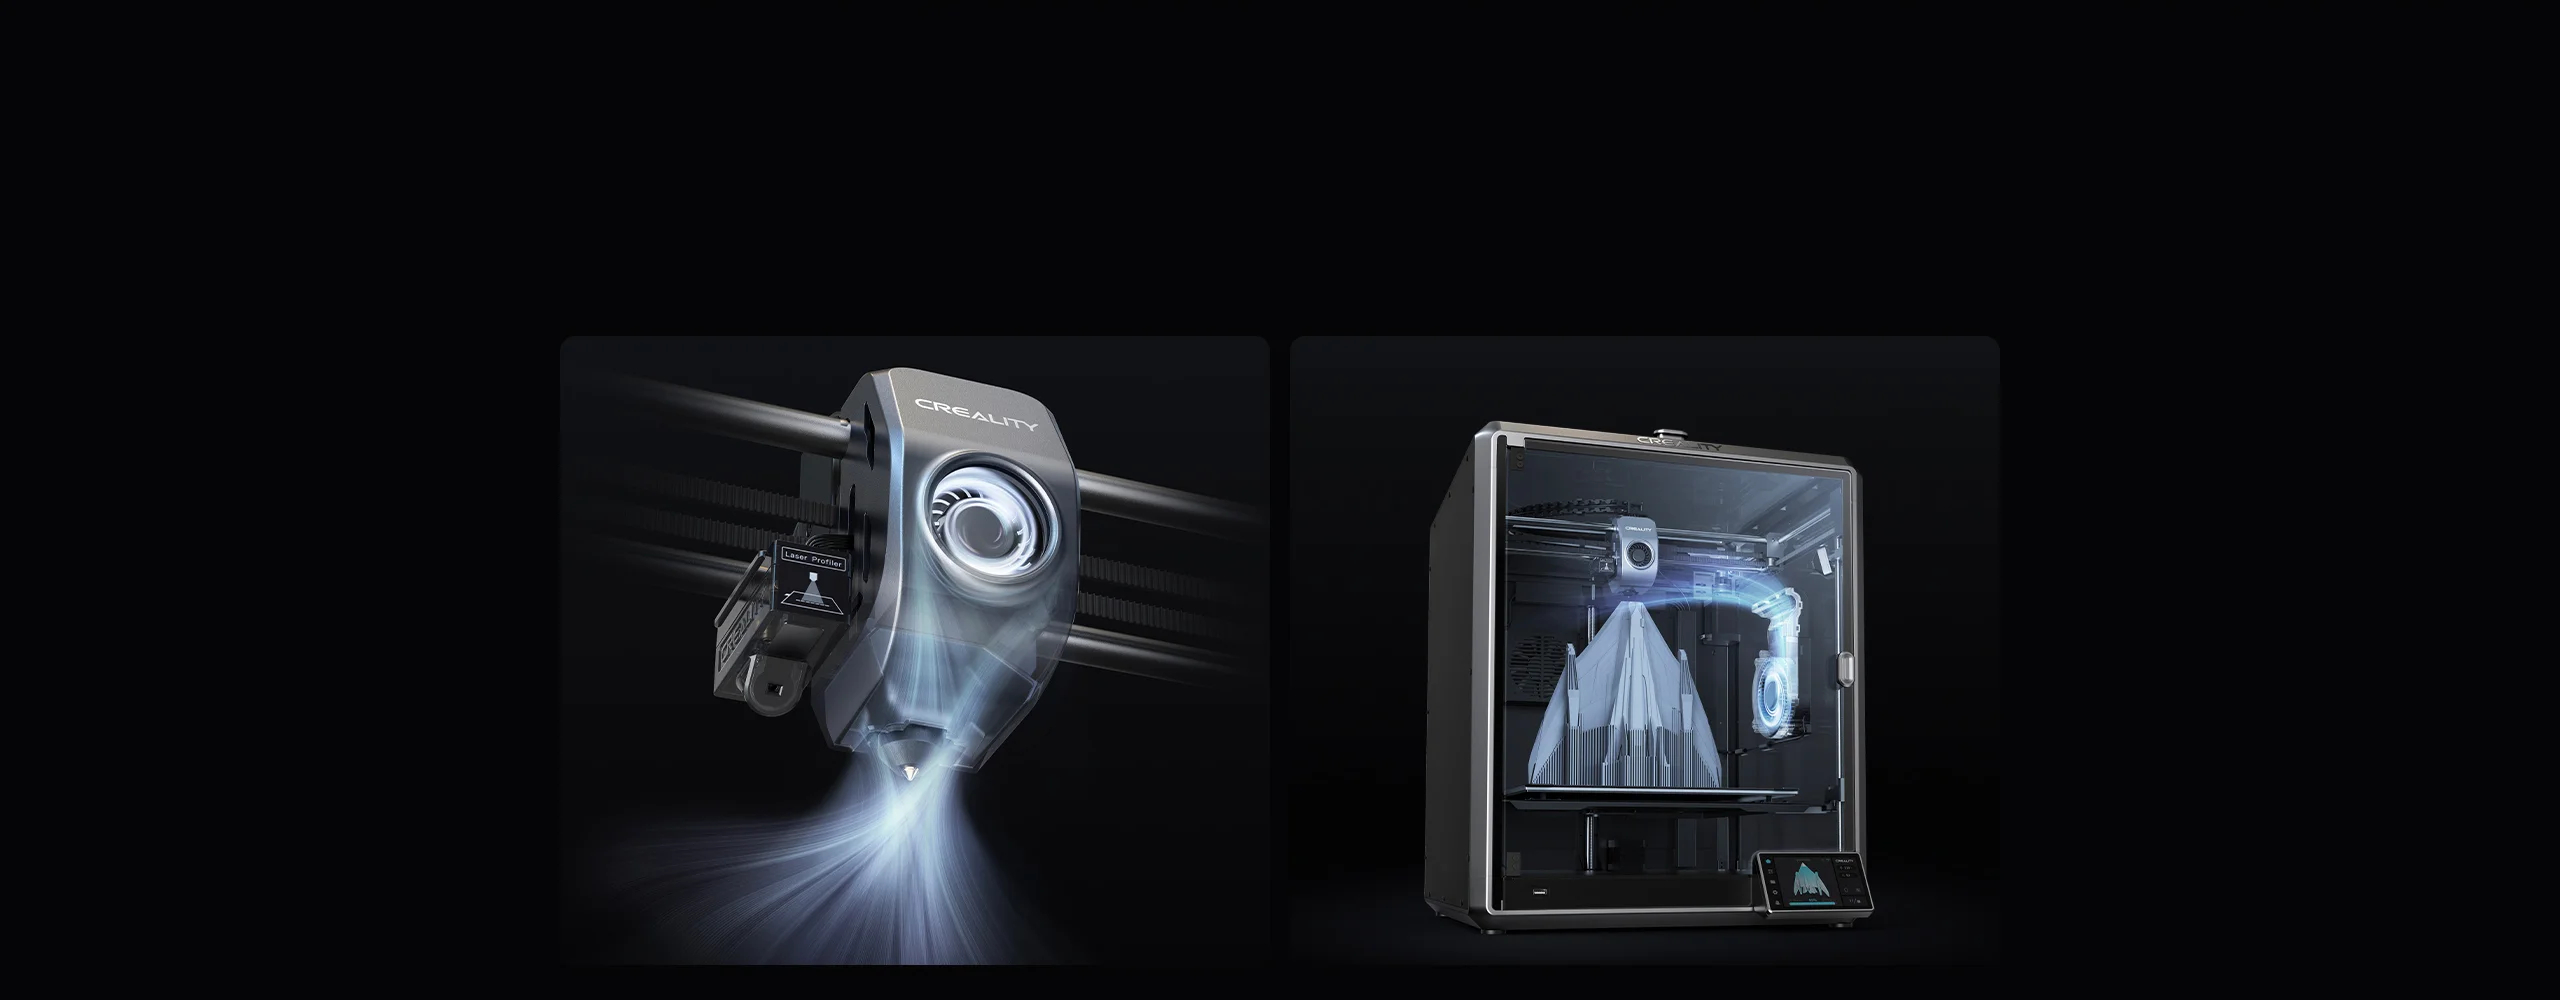
A large fan on the printhead with air ducts cools the model directly. Also, there is an 18W auxiliary fan in the build chamber that enhances the cooling effect.
Effective Air Purifier
The built-in air filters will purify unhealthy compounds generated during printing, making printing much more pleasant.
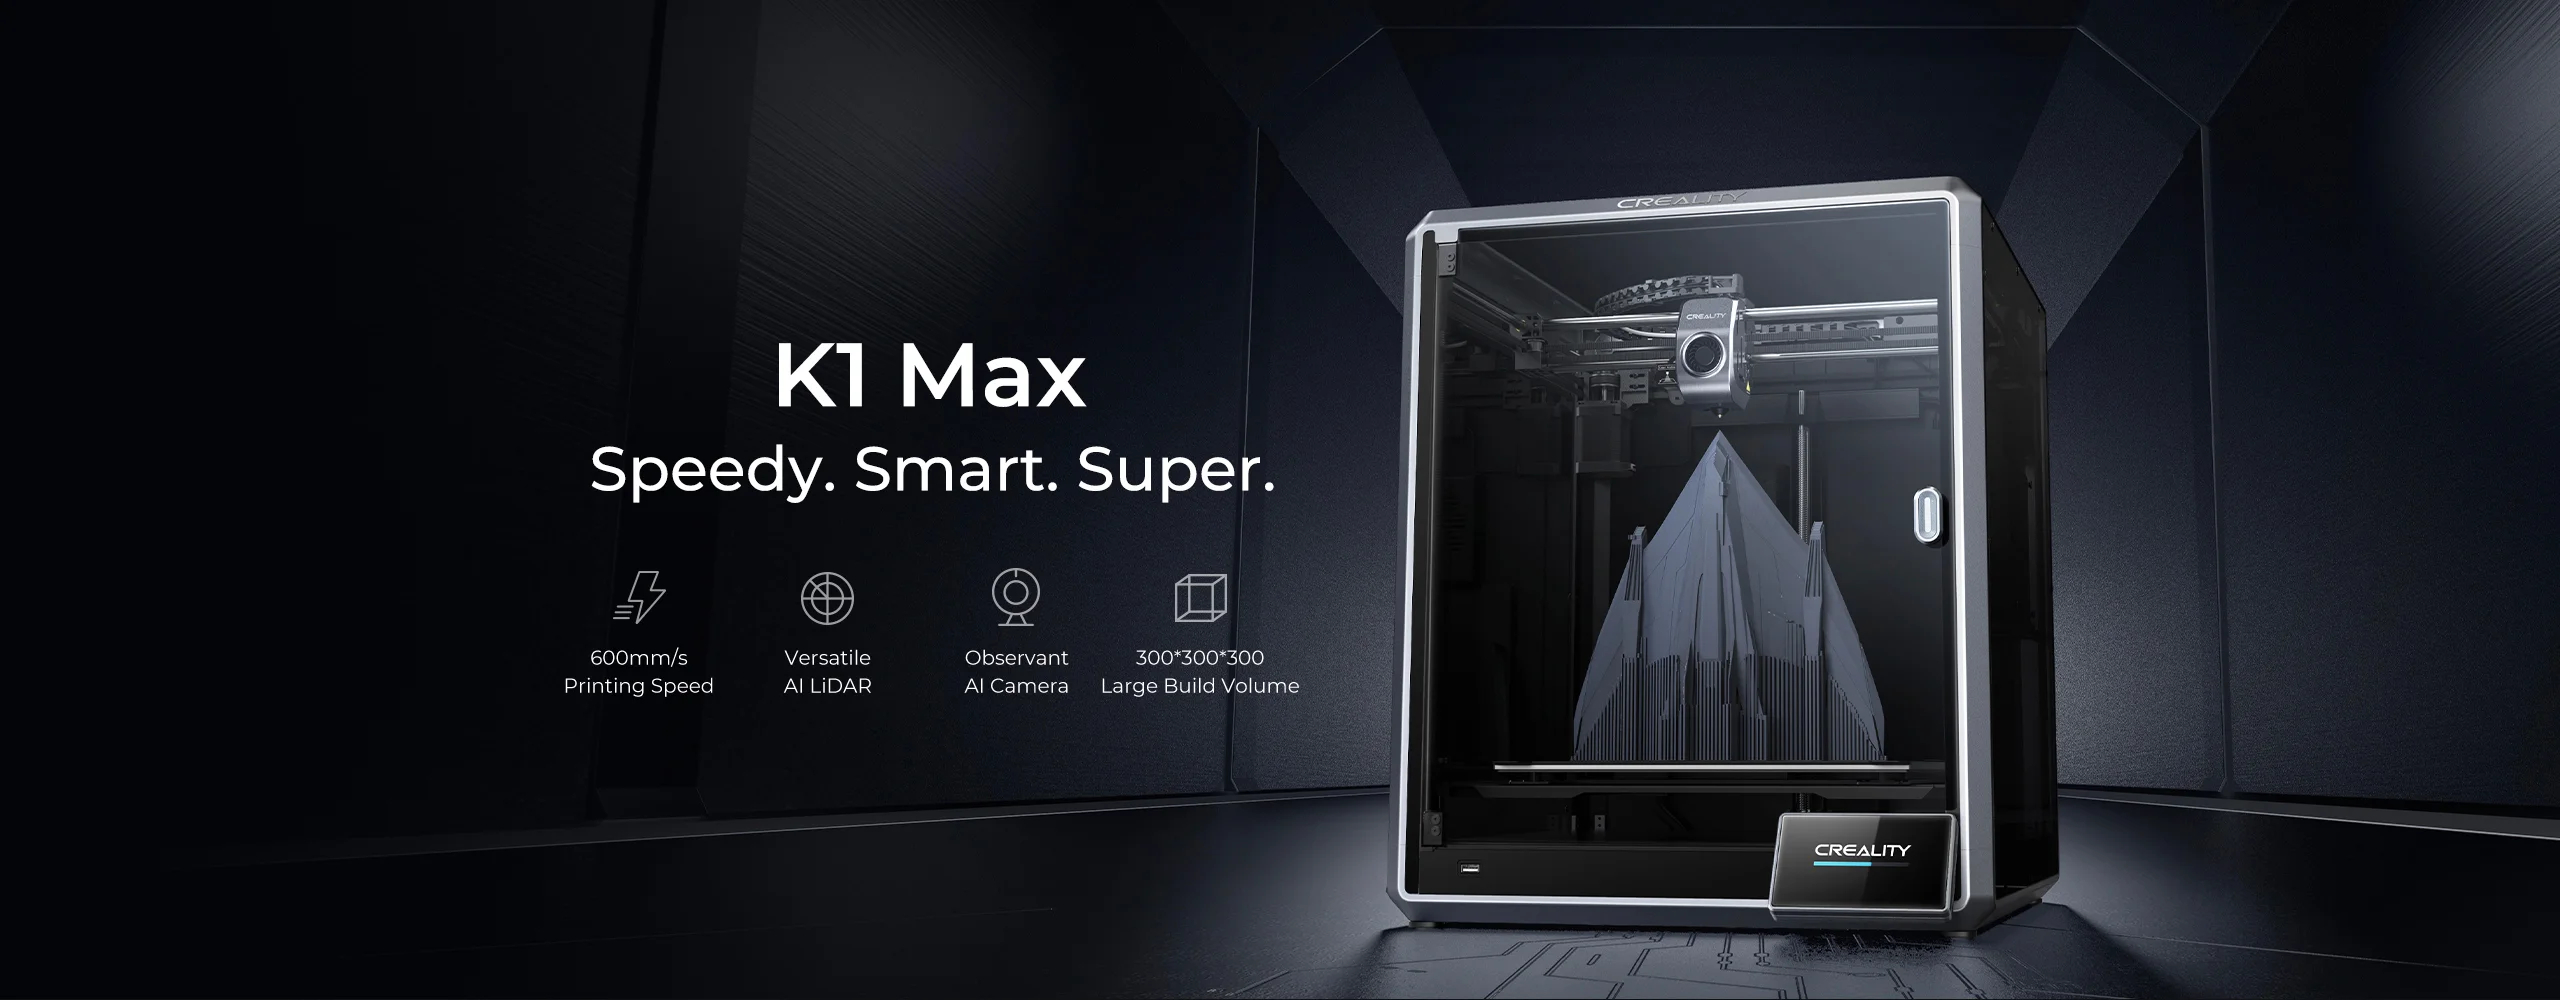
K1 Max - Speedy Smart Super
600mm/s Printing Speed
Versatile AI LiDAR
Observant AI Camera
300*300*300mm Large Build Volume
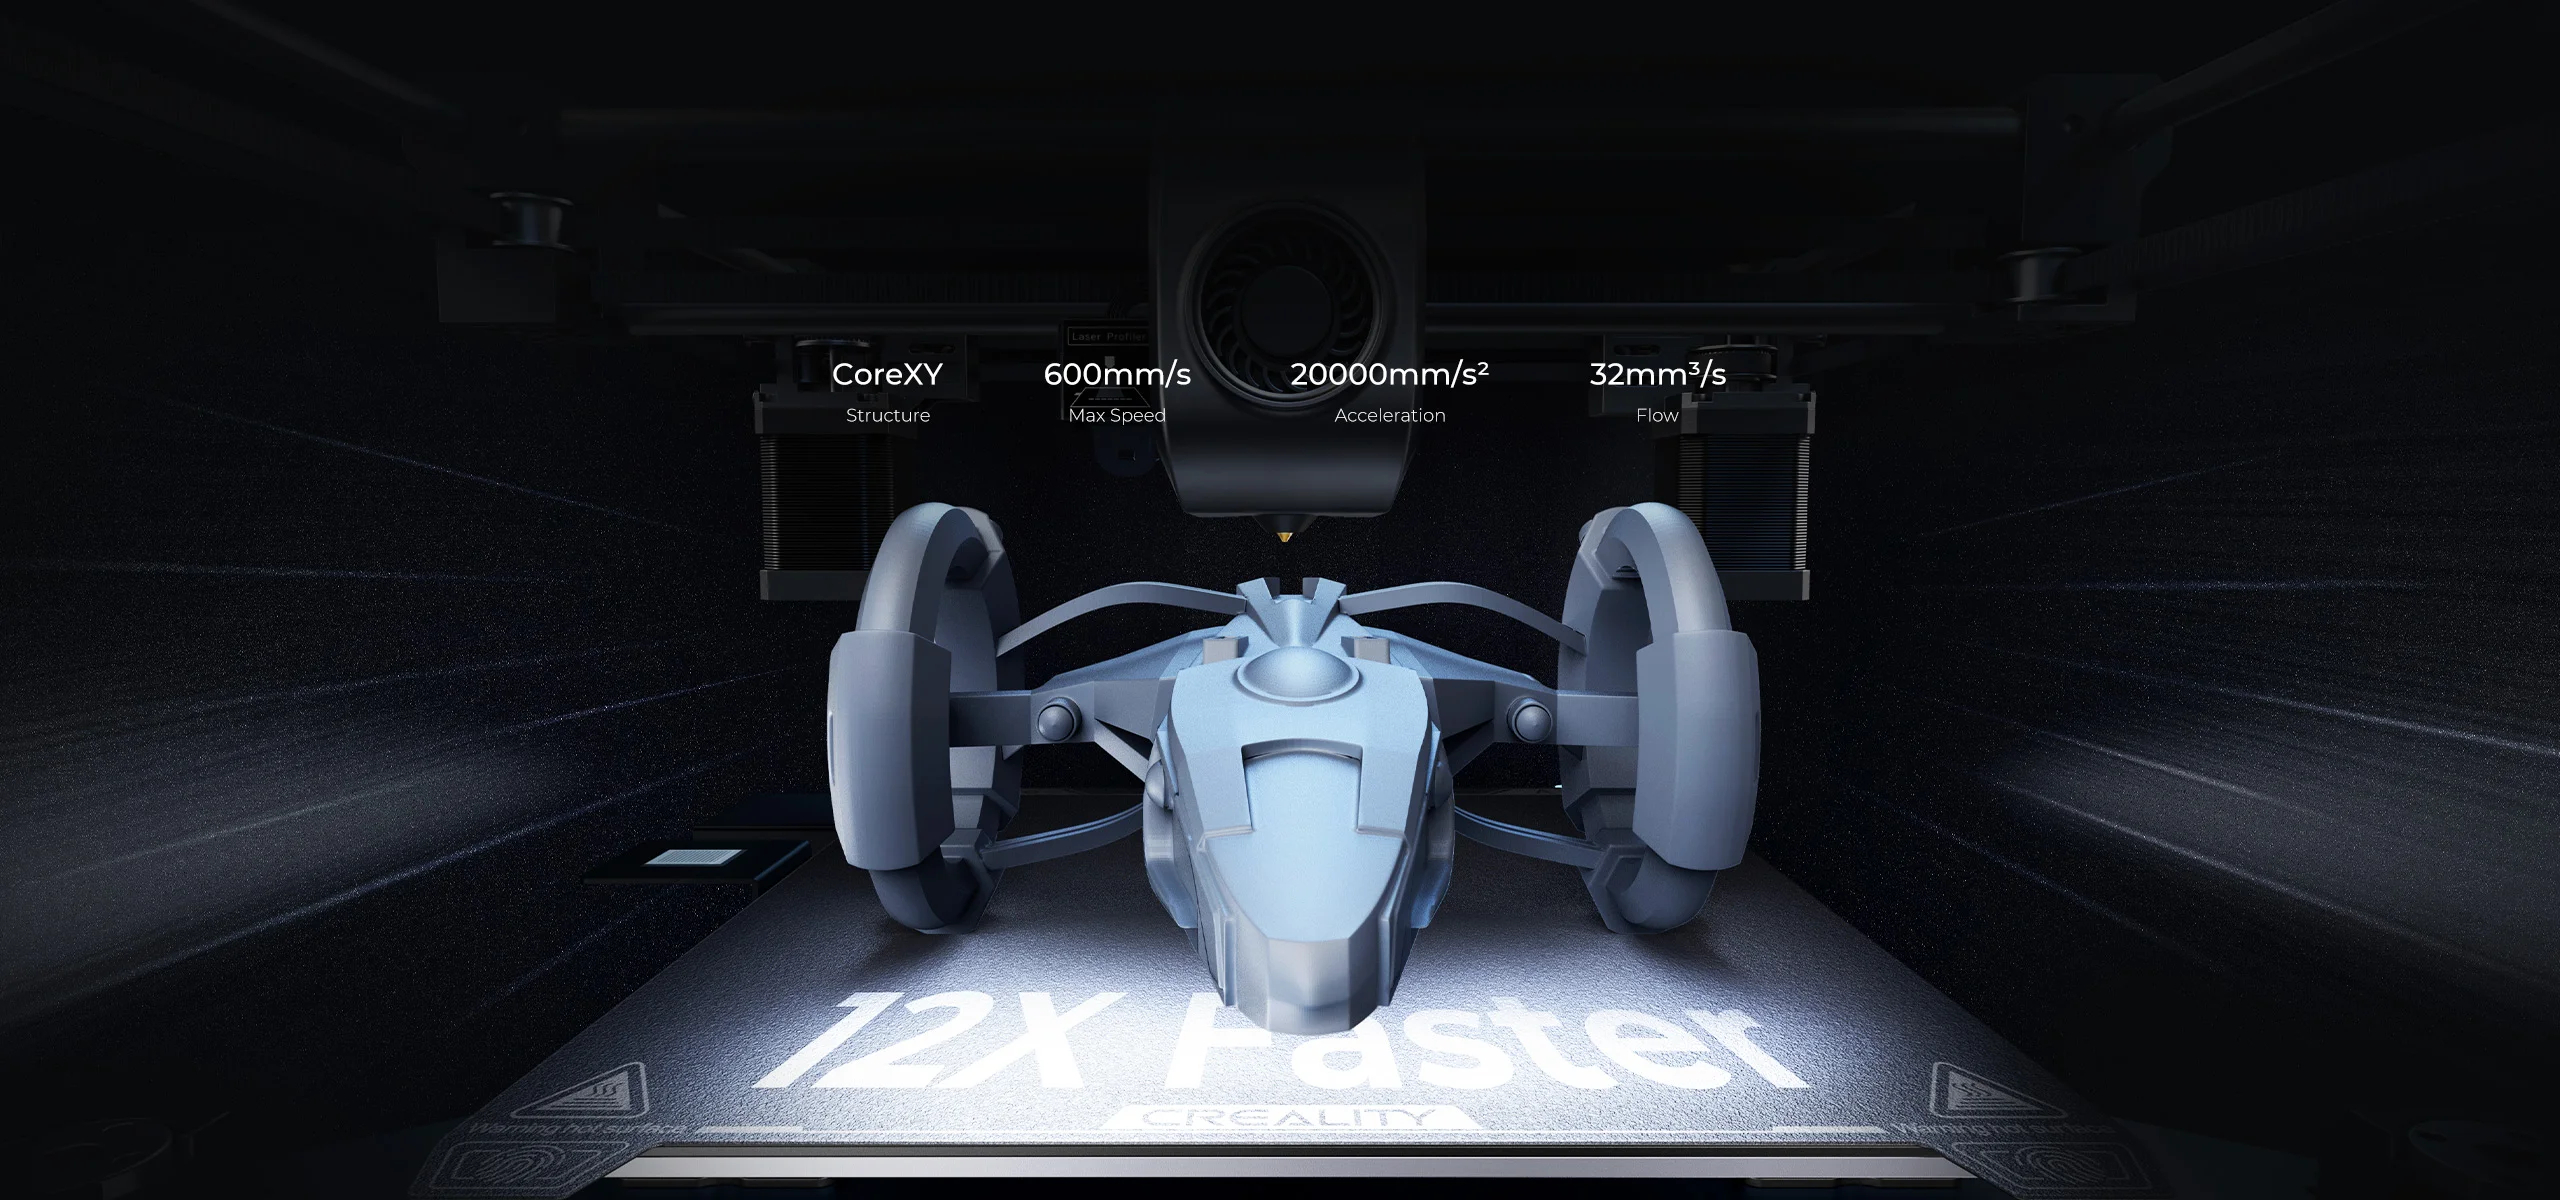
Super Power of Speed
CoreXY Structure
600mm/s Max Speed
20000mm/s2 Acceleration
32mm3/s Flow
12X Faster, Defy Limitations
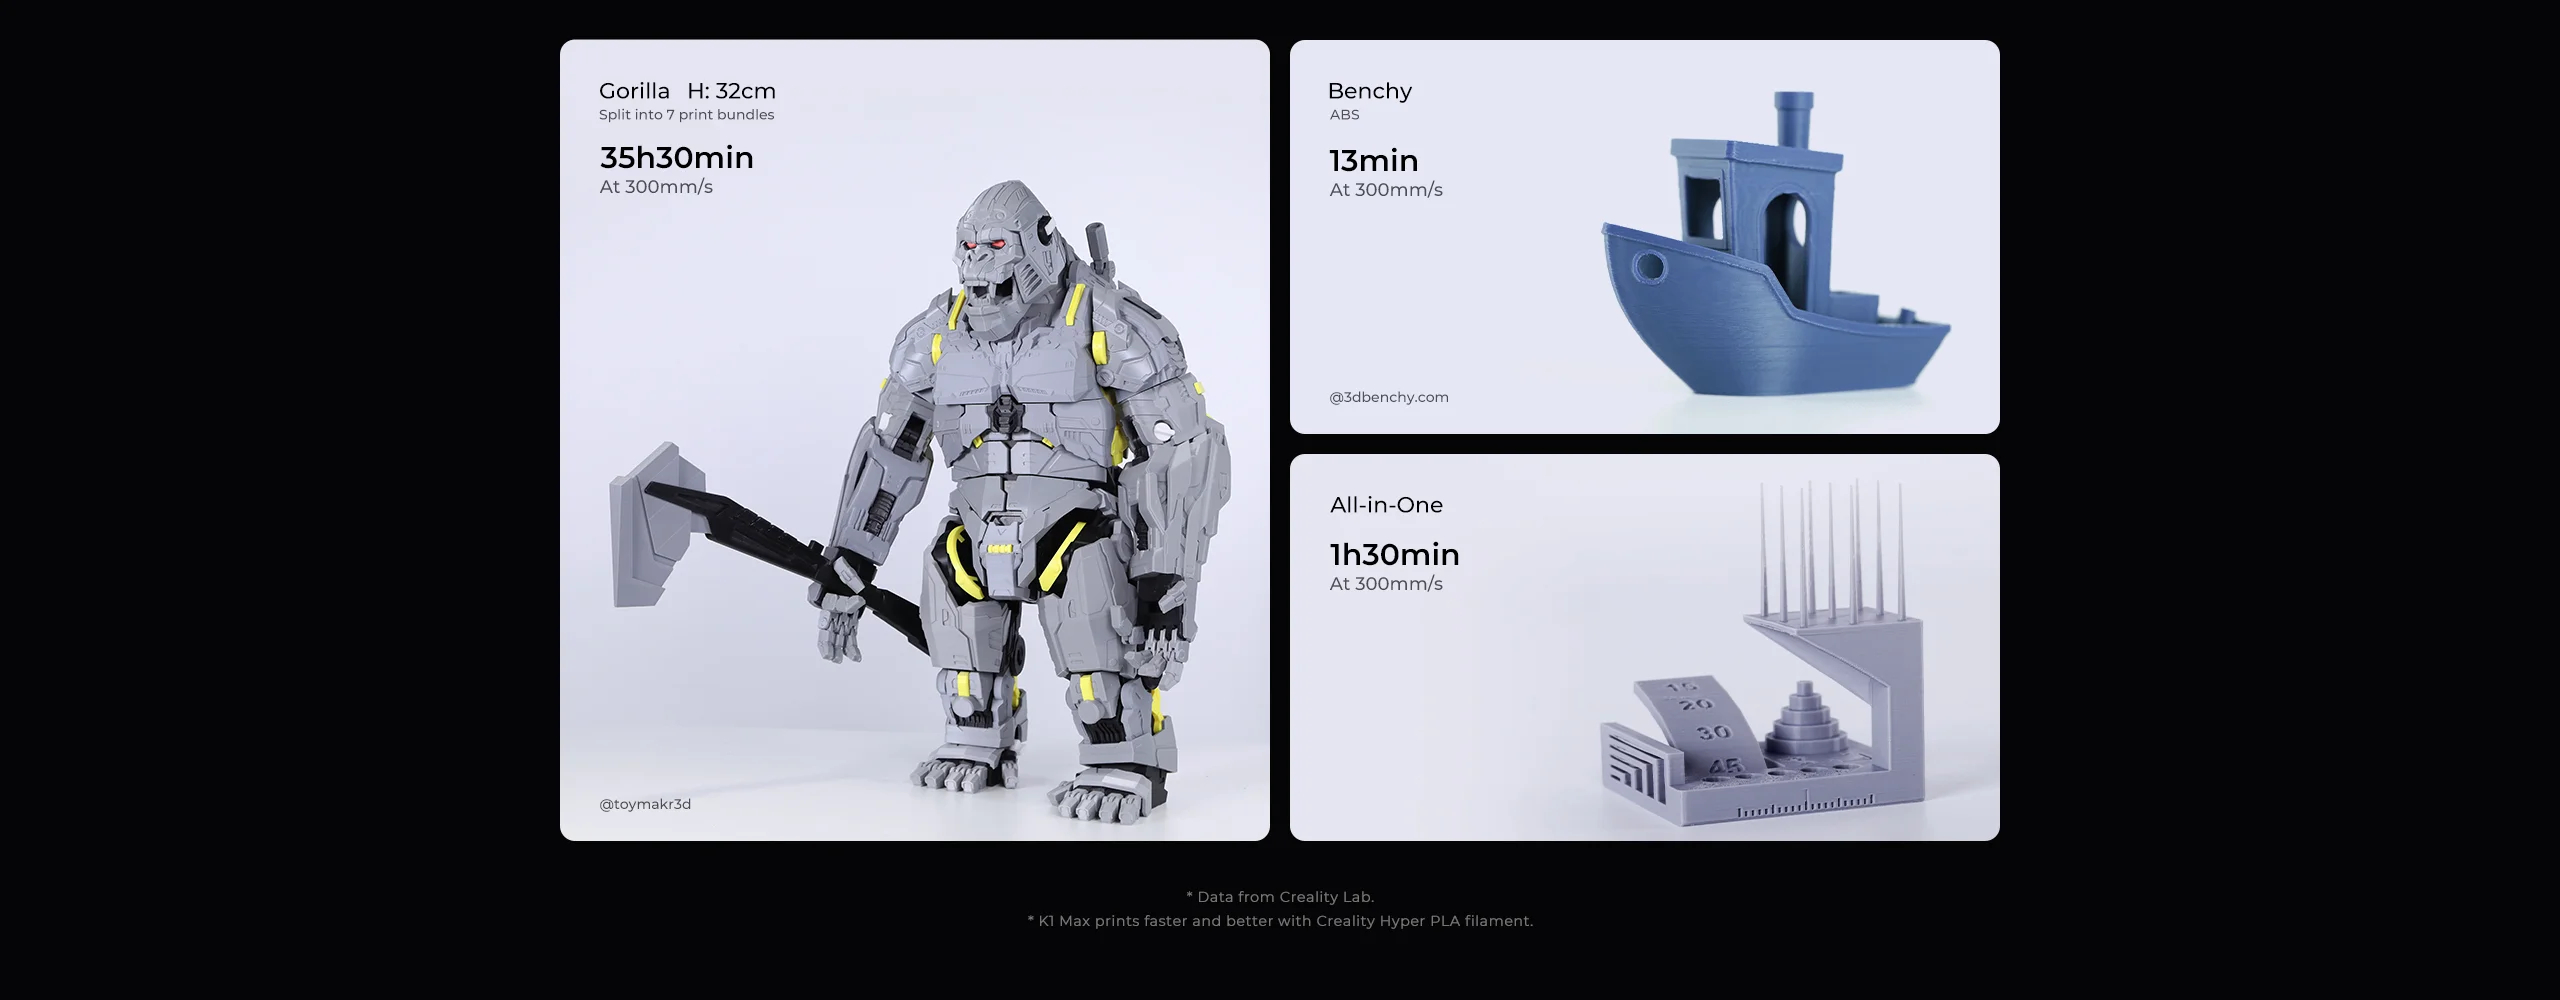
Creality K1 Max reaches 600mm/s* in only 0.03s based on 20000mm/s² acceleration. It can be as productive as several 3D printers together.
* The typical speed is 300mm/s. The travel speed is 800mm/s.
* The 600mm/s speed is achieved at Creality Lab in the Surface Mode with 0.1mm layer height.
Nimble Setup for Speed
K1 Max combines the nimble Core XY with a 190g lightweight printhead for less motion inertia.
Max. 32mm³/s Flow
New ceramic heater, encircling the entire hotend. It heats to 200℃ in 40s and melts the filament instantly.
Dual-gear direct extruder, delivering strong extrusion force.
Hotend with a titanium alloy heatbreak and a hardened steel nozzle, working with flying colors in up to 300℃.
Get Cool Models On the Fly
Model Cooling by Dual Fans
A large fan on the printhead with air ducts cools the model directly.
An 18W auxiliary fan in the build chamber enhances the cooling effect, too.
The model hardens before any stringing and warping could happen.
It allows support-free bridges and overhangs.
Creality Print 4.3 with Speed Genes
The latest self-developed slicer Creality Print 4.3 includes rich presets, and streamlines the slicing process into 3 simple stages.
Even better, it bolsters high-speed printing with variable line width, arc path, and so on.
Max Capacity, Efficient Use of Space
K1 Max boasts a 300x300x300mm large build volume, great for rapid prototyping or design verification.
It also offers a high build volume to printer size ratio of 25.5%.
K1 Max is the most size-efficient FDM 3D printer in its class.
AI-assisted Carefree Printing
Al LiDAR
AI Camera
Creality OS
Multi-printers Controls
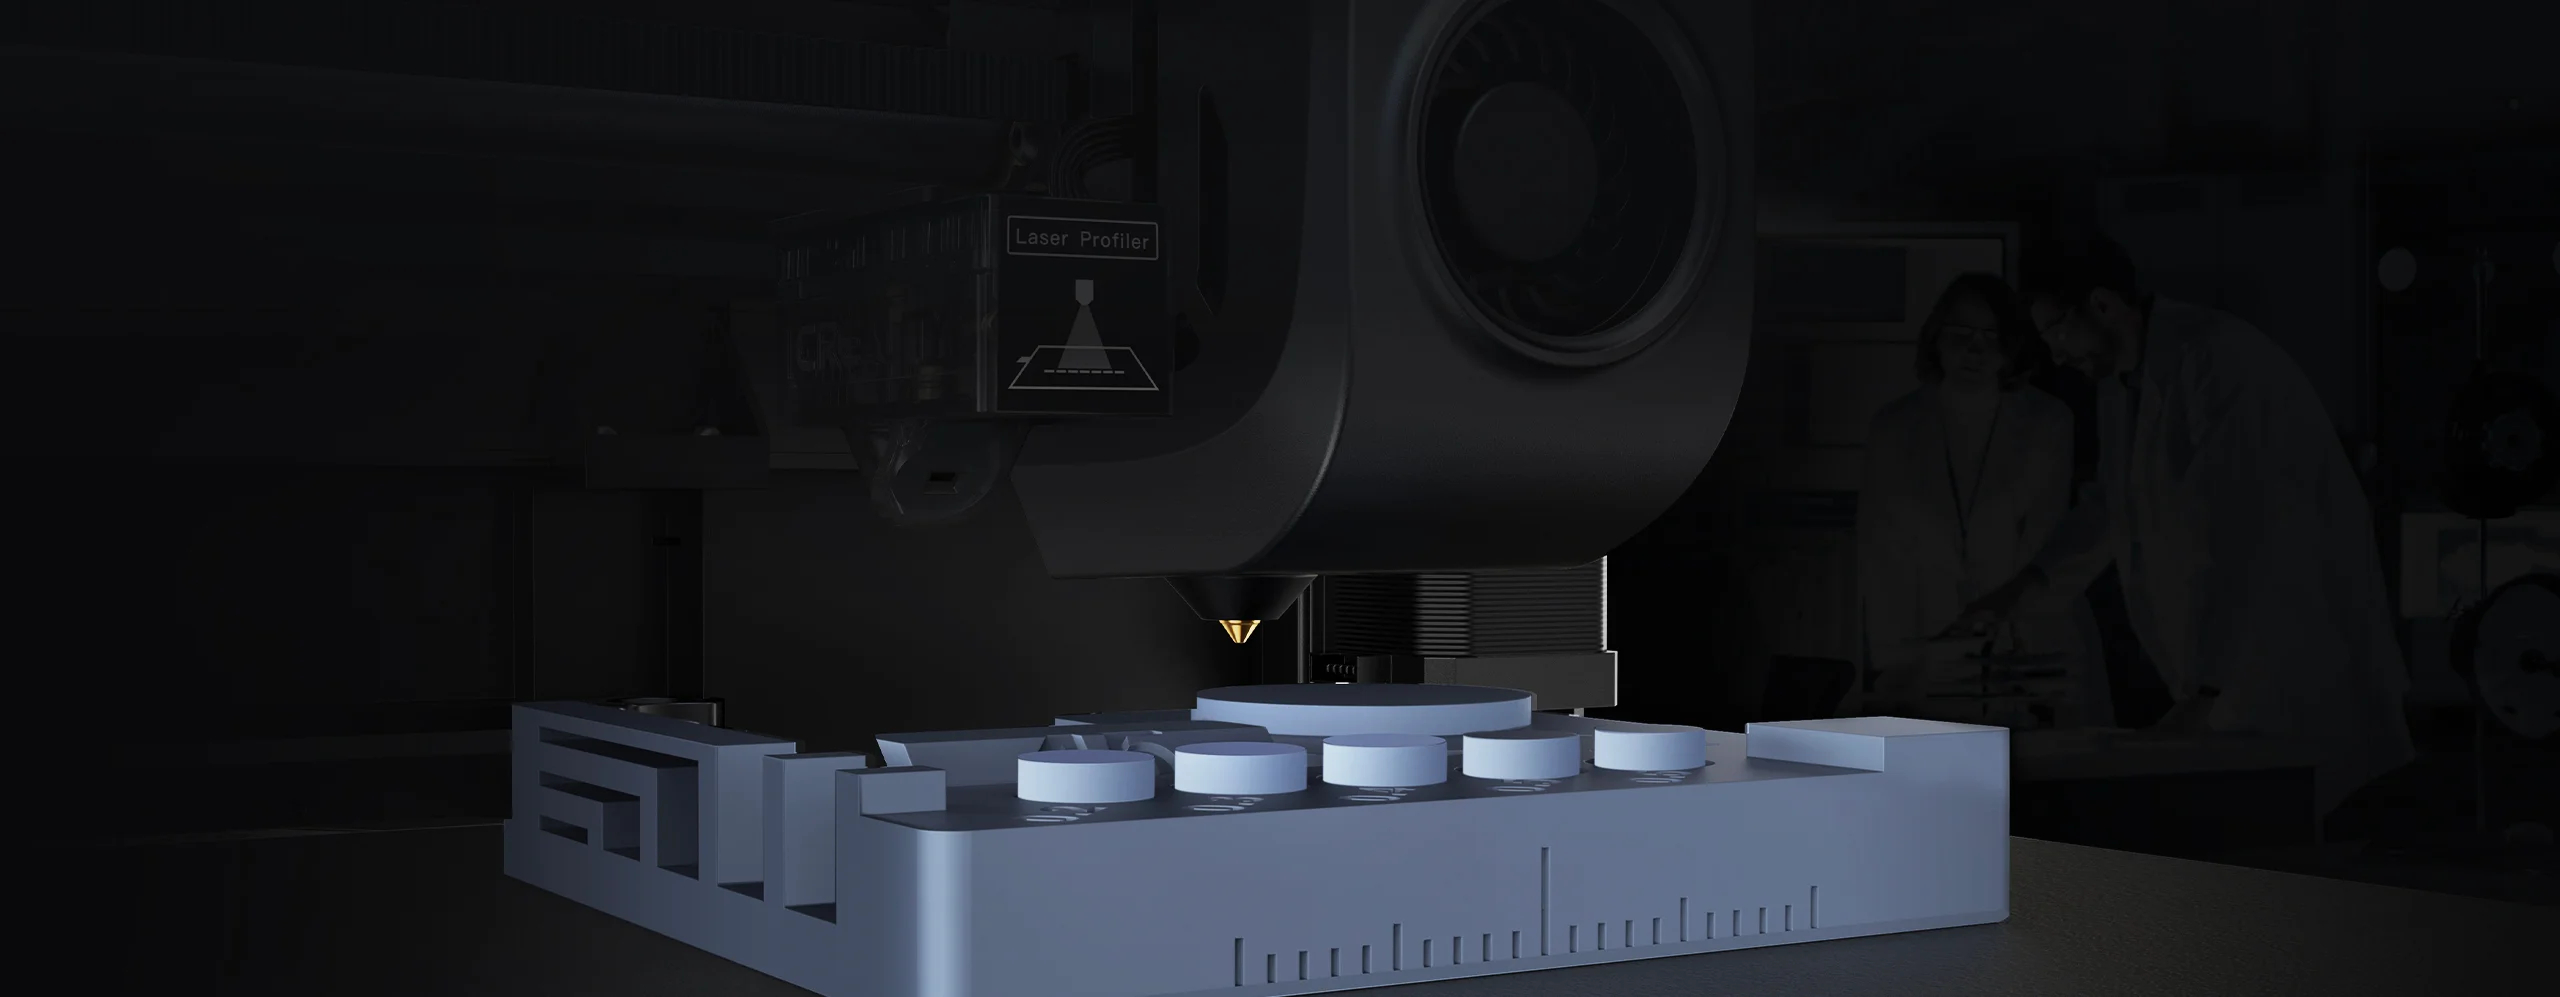
AI LiDAR Takes Care of the First Layer
Still worry about the first layer? Just leave it all to the AI LiDAR of K1 Max.
The 1 μm resolution LiDAR will scan the first layer on its own. It will pause printing and tell you immediately if something goes wrong.
AI Camera Keeps a Keen Watch
K1 Max uses an AI camera to watch over spaghetti failure, foreign objects, debris, etc.
It will alert you when an error occurs.
It also supports real-time monitoring and creates time-lapses for sharing.
Failure Detection
Foreign Object Detection
Real-time Monitoring
Smart System, Unbridled Performance
K1 Max adopts the smart Creality OS. It features a straightforward UI, and syncs data and commands with PC, phone, Cloud, and add-on modules.
The snappy dual-core 1.2GHz CPU powers high-speed printing with ease.
The 8G ROM stores up to 400 model files and enables quick writing and reading.
Intelligent Aid to Your Print Farm
Once K1 Max is connected via WiFi or RJ45 Ethernet port to the LAN or Internet, you can monitor and control the printing from a PC or phone with Creality Print software or Creality Cloud.
Even better, when many K1 Max printers are online, they can be easily clustered or grouped for volume production.
Trustworthy Print Quality
Rigid Frame, Stable Quality
The frame of K1 Max is built with rigid die-cast aluminum alloy parts.
It enables steady printing at high speed. And the print quality is excellent the whole time.
Delicate Texture without Z-banding
The upgraded Z-axis with more accurate positioning reduces Z-banding effectively.
The texture has never been so subtle.
Smooth Surface by Solving Ringing
A G-sensor in the printhead measures the resonance frequencies of high-speed printing, and auto-tune the printer to mitigate it. No more ghosting or ringing on the print.
Better Feeding with Motion Advance
The motion advance function will deliver the optimal feeding flow. It reduces blobs and oozes effectively.
Intuitive for Everyone
Dual Hands-free Auto Leveling
First, strain sensors in the heatbed generate an accurate leveling mesh for auto compensation.
Second, AI LiDAR scans the bed tilt at million points for more precise leveling.
Both ways are hands-free and do not require any attention.
Print Right out of the Box
K1 Max is assembled and calibrated before shipment and built-in with a boot-up quick guide.
You can start printing the moment your K1 Max arrives.
Flexible Build Plate
Quick-heating Heatbed
Self-test with One Tap
Specification
| General | Brand: Creality Type: 3D Printer Model: K1 Max Color: Black |
| Specification | Printing Technology: FDM Build Volume: 300*300*300mm Printing Speed: ≤600mm/s Acceleration: ≤20000mm/s2 Printing Accuracy: 100±0.1mm Layer Height: 0.1-0.35mm Extruder: Dual-gear direct drive extruder Filament Diameter: 1.75mm Nozzle Diameter: 0.4mm (swappable with 0.6/0.8mm nozzle) Nozzle Temperature: ≤300 Celsius Heatbed Temperature: ≤120 Celsius Build Surface: Flexible build plate Leveling Mode: Dual hands-free auto leveling File Transfer: USB drive, Ethernet, WiFi Display Screen: 4.3-inch color touchscreen Al Camera: Yes Al LiDAR: Yes Power Loss Recovery: Yes Filament Runout Sensor: Yes Air Purifier: Yes Input Shaping: Yes Lighting kit: Yes Sleep Mode: Yes Rated Voltage: 100-240V, 50/60Hz Rated Power: 1000W Supported Filaments: ABS, PLA, PETG, PET, TPU, PA, ABS, ASA, PC, PLA-CF, PA-CF, PET-CF Printable File Format: G-Code Slicing Software: Creality Print; compatible with Cura, Simplify3D, PrusaSlicer File Formats for Slicing: STL, OBJ, AMF UI Languages: Chinese, English, Spanish, German, French, Russian, Portuguese, Italian, Turkish, Japanese |
| Weight & Size | Product Weight: 18kg Package Weight: 23kg Product Size(L x W x H): 435*462*526mm Package Size(L x W x H): 508*508*608mm |
| Package Contents | 1 x 3D Printer 1 x Touch Screen 1 x Filament 1 x Set of Wrenches and Screwdrivers 1 x Blade 1 x Material Barrel 1 x Cutting Plier 1 x 1.2mm Nozzle Cleaner 1 x M6 Socket Spanner 1 x USB Flash Disk 1 x Glue Stick 1 x Lubricating Grease 1 x Power Cable 1 x User Manual |
Videos
Customer Photos
Customer Videos
Customer Reviews
| 5 star | 122 | |
| 4 star | 11 | |
| 3 star | 3 | |
| 2 star | 0 | |
| 1 star | 0 |
- All (136)
- Images (28)
- Videos (0)
Questions & Answers
FAQ
Troubleshooting:
506 Error Trouble Shooting:
Problem description: After printing started, the screen popped up 506 AI LiDAR calibration failed.
Solution: 1. Clean or replace calibration stickers.
2. Clean the surface of the AI module lens.
3. Adjust the height of the calibration plate.
4. Replace the AI module.
2000 Error Trouble Shooting:
Problem description: The screen displays "Error, key: 2000, Unknown Exception".
Solution: 1. Remove the nozzle cover and re-plug the nozzle connection cable. If it cannot be solved after plugging and unplugging, replace the nozzle connection cable.
2. Export logs to the developer for analysis. If it occurs during the boot process, please follow the steps to skip the self test.
2001 Error Trouble Shooting:
Problem description: “Error, key: 2001, unknown exception” pops up on the screen.
Solutions: 1. Restart the machine.
2. Export logs to the developer for analysis. If it occurs during the boot process, please follow the steps to skip self test.
2111 Error Trouble Shooting:
Problem description: The screen pops up 2111 after printing starts.
Solutions: 1. Sliced file header error: First, use the official slicer version 4.3.5 or above, and select the corresponding model K1 Max (this only applies when using the Creality official slicer).
2. When using third-party slices, Please refer to the settings document.
3. If there is no problem checking the slicer software, exit the printing interface and heat the nozzle separately.
If 2507 or 2564 appears, please check the 2564 Error Trouble Shooting.
2564 Error Trouble Shooting:
Problem description: The screen displays "Error, key: 2564, extruder not heating as expected".
Solutions: 1. Open the nozzle cover, and then check whether the nozzle heating wire and thermal terminal block on the nozzle board are inserted in place, and also check whether the terminal is inserted in place.
2. Remove the nozzle insulation sleeve and check for any other abnormal conditions such as cracks on the ceramic heating ring.
3. When heated, check if the nozzle is loose.
4. The serrated shape can only be solved by replacing the hot end.
2565 Error Trouble Shooting:
Problem description: The screen displays "Error, key: 2565, the heated bed is not heating as expected".
Solutions: a. Remove the bottom cover.
b. Check the wiring on the hot bed plate and refasten it.
c. If you don't have a professional multimeter measuring tool, skip this step. If you have a professional multimeter measuring tool; measure whether the voltage output on the adjusting plate is normal or if the voltage measurement is abnormal, contact customer service/after-sales service to replace the heating bed board.
d. Please contact the official customer / after-sales service for replacement of the hot bed plate kit.
3002 Error Trouble Shooting:
Problem description: Error, key: 3002 appears on the screen.
Solution: 1. Replace the nozzle drag chain cable or re-plug the terminal
2. Replace the leveling drag chain cable or re-plug the terminal
3. Upgrade firmware
4. Replace the main board
Q: K1 Max AI lidar does not detect
A: 1. Reinstall the AI Lidar cable.
2. Replace AI LiDAR.
3. Replace the drag chain cable.
4. Mainboard replacement
Q: K1 Max camera not detected
A: 1. Replace the camera module.
2. Replug-in the camera cable. If the problem is not resolved; replace cable.
3. Replace the mainboard.
Q: K1 Max cannot read the USB disk
A: 1. After replacing the USB disk, reuse the USB disk to initiate printing and observe whether there is a fault
2. Replace USB Adapter Board
3. Replug the USB disk adapter cable or replace it if the problem isn't resolved.
4. Replace the mainboard.
Q: K1 Max Creality Cloud shows offline After Upgrade
A: 1. Ensure that the printer is connected to the internet. Click "Settings" and select "Bind to Creality Cloud."
2. A privacy agreement will pop up. After agreeing, there is a possibility that "IOT initialization failure" may appear. Wait for a few seconds or switch to another page and then switch back.
3. Choose the server - select the domestic server for domestic use and the overseas server for international use. Open Creality Cloud and rescan the code for binding.
Q: Solution to the Collision Problem for K1 Max
A: 1. Check the XY motor wiring
If you find that the terminal is loose, plug it in again, click to return to zero, and observe whether the homing is normal. For example, check whether the wiring at the X motor is intact and whether the terminals are loose; check whether the wiring at the Y motor is secure and whether the terminals are loose.
2. Check the driver or motherboard for damage
If the motor wiring is in good condition, it may be a problem with the main board and/or the driver. At this time, check the error code feedback on the screen. When the 2505 error code pops up on the machine screen, the main reason is that the main board fan screw is against the main board's X-axis drive heat sink. Such contact in the long term leads to damage to the driver chip; another situation is that the driver chip is soldered incorrectly.
There may be three solutions depending on different scenarios. First, try to remove one of the fan screws, which can prevent the driver IC from being damaged due to the contact of the screws with the heat sink. If long-term contact has caused the motherboard fan wire to be damaged, the motherboard fan needs to be replaced. If none of the above applies, you may need to replace the motherboard of the machine.


