- Shipping Company Estimated Delivery Time Shipping Cost

Highlights
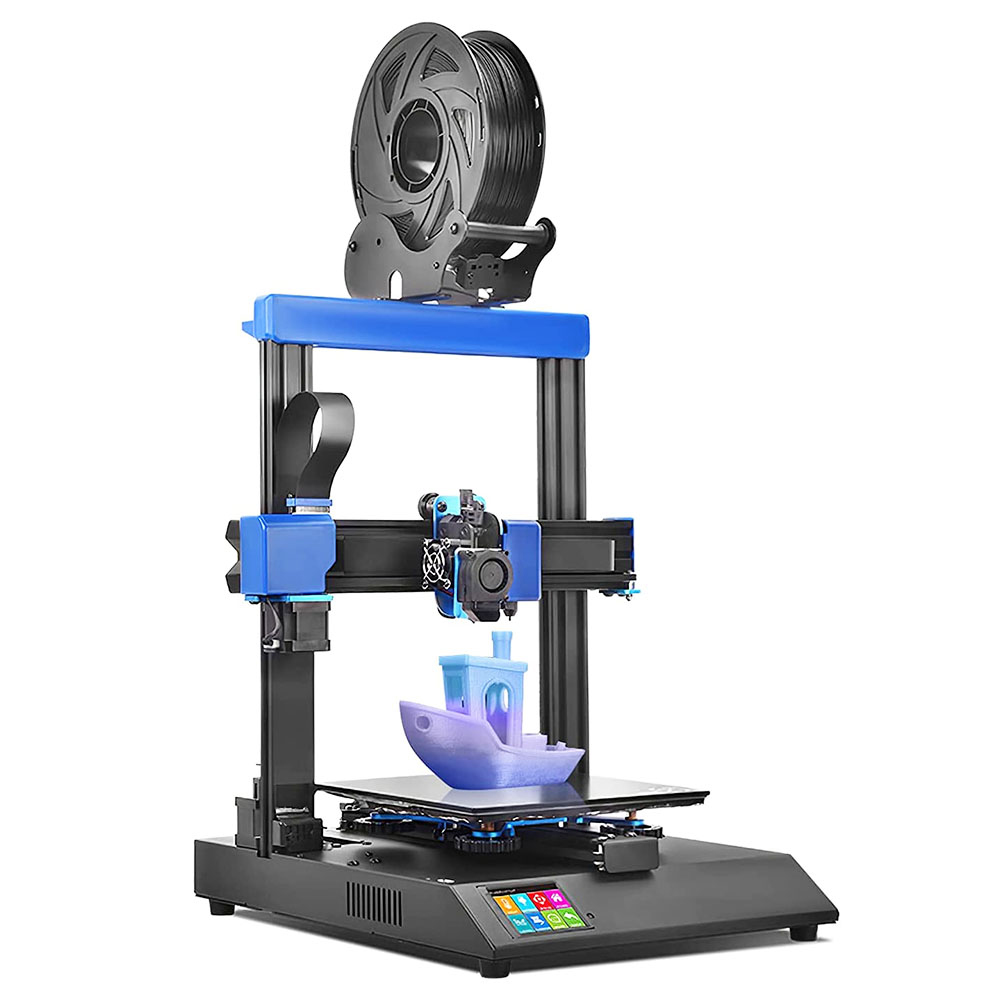
Powerful High-Quality - DIY all in one structure, 95% pre-assembly, 220 x 220 x 250 mm print size. Intelligent automatic bed leveling. Wide-voltage heat bed protection. With touch screen control
Rapid Heating AC Heat Bed - Can be heated to 120 °C in 3 minutes. Support flexible materials. Tempered glass platform makes the prints adhere and release better without warping
Resume Printing - Filament runout and power failure detection, can resume your printer after recovery. Saving your time and reducing waste
Synchronized Dual Z System - Double screw drive, more stable printing with high precision and high-speed movement. Exclusive Z-axis coupler for smoother printing
Ultra-Quiet Printing - Replaceable stepper driver and low-decibel working mode make printing quiet, dissipated much less heat.
Specification
| General | Brand: Artillery Type: 3D printer Model: Genius Pro Color: Black |
| Specification | Build volume: 220 * 220 * 250 mm Layer resolution: 0.1mm - 0.35mm Build speed: 60mm/s - 150mm/s Travel speed: 250mm/s Heat bed type: AC heat bed Filament diameter: 1.75mm Supported materials: PLA, ABS, Flexible PLA, Wood, PVA, HIPS Calibration: ABL (Automatic Bed Leveling) Print technology: FFF (Fused Filament Fabrication) Feeder type: Direct Drive XYZ resolution: 0.05mm, 0.05mm, 0.1mm Nozzle type: Volcano Nozzle diameter: 0.4mm Nozzle temperature: 180°C - 240°C Nozzle heat up time: < 3 minutes Build plate heat up time: 80C in less than 2 minutes Operating sound: < 70dBA Power consumption: 110V 500W max (w/ heated bed turned on) Control board: Artillery Ruby 32 Product weight: 9.6KG Shipping weight: 11.7KG Product dimensions: 430x 390x 590mm(complete assemble) Shipping box: 528x428x310mm |
| Weight & Size | Product Weight: 9.6kg Package Weight: 11.7kg Product Size(L x W x H): 43*39*59cm Package Size(L x W x H): 52.8*42.8*31cm |
| Package Contents | 1 x Artillery Genius Pro 3D Printer 1 x Assembly Tool Kit 1 x Assembly Instruction 1 x Assembly Guide |
Videos
Customer Photos
Customer Videos
Customer Reviews
| 5 star | 7 | |
| 4 star | 0 | |
| 3 star | 0 | |
| 2 star | 0 | |
| 1 star | 0 |
- All (7)
- Images (0)
- Videos (0)
Questions & Answers
FAQ
Q1: What if my printed mold is not sticking to the bed?
1. Re-level the bed, and make sure to pre-heat both the hotend and bed to the print temperature;
2. The print bed sticks better with a temperature around 10C higher than the bed temperature suggested by the most manufacturer;
3. Do not turn off the bed during printing, due to the nature of the coating, it will release the print once it’s cooled down, turning off the bed mid-print will cause the bed to release the print;
4. You may wipe the print surface with IPA once it’s completely cooled down. Never clean it with any cleaning products.
Q2: What if my hotend/heated bed starts heating after powering on?
A: 1. Power off the printer immediately;
2. The problem was caused by a faulty mosfet on the mainboard, replace the mainboard.
Q3: My build plate/Y-axis/platform is not stopping when homing, what should I do?
A: 1. Do a visual check on the endstop sensor, make sure it’s not crushed by the screw;
2. With the power turned on, use a piece of metal to trigger the Y endstop sensor, if there’s no red LED lighting up, the endstop sensor is faulty, replace endstop sensor;
3. Move the platform to the very front of the print and home Y individually, using a piece of metal to trigger the Y endstop sensor right after pressing home;
a. If the build plate stops, the sensor is working correctly, check if there is anything beneath the bed obstructing its movement;
b. If the build plate does not stop, the sensor is faulty, replace Y endstop sensor;
4. If none of the above solves your problem, contact customer services for further assistance.
Q4: My auto-level sensor does not perform a self-test, how to deal with it?
1. Power off the printer, and wait till the screen is completely off;
2. Power on the printer;
3. If the auto level sensor does not perform a self-test (probing pin comes down and up twice) when powering on, please perform the following:
1. Gently pull the pin down by hand a repeat steps 1-2;
2. If the sensor still failed to perform a self-test, contact customer service for a solution.


